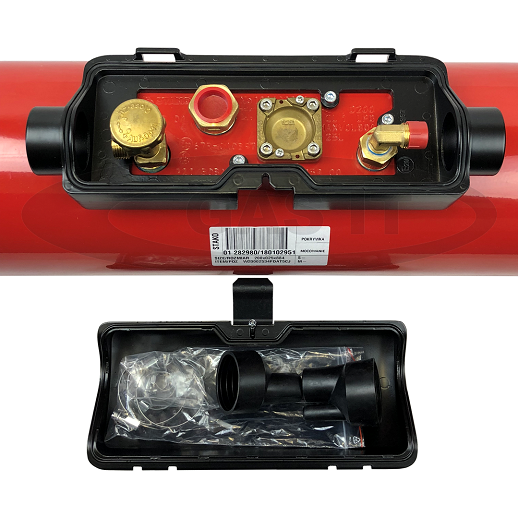
Level Indicator Valve ( Valve Fitment 4 )

This is the 4th valve to be fitted in this order.
When fitting the gas level valve into the tank you need to make sure the rubber o ring below the valve brass face is located and that the round face in the tank is clean and there is no paint or dirt on it.
You do not need to add any sealant to this o ring or tank face.
The float valve must be facing the right way before installing, otherwise it wont read correctly. You will see on the brass face the word 'TOP', this points upward to the top of the tank when fitting it in the tank ( To work out the top of the tank the feet are on the top and/or the words on the valve plate must be in the right way to read them to make sense, then fit the valve with the word TOP pointing upward)
The float must drop perfectly vertical inside the tank so when you tighten the valve it does not get damaged by the other items in the tank. This means you must have the valve plate facing upwards ( at 12 o clock ) and it must be horizontal so the valves drop down inside.
This valve must be fitted using the opposite tighten sequence ( like fitting a 4 bolt wheel to a car ) eg. screw the top left corner bolt into place a few turns then go diagonally to the allen bolt in the opposite bottom right hand corner and tight the same few turns, then move to the top right and then to the last bolt and repeat a few times until you have tightened to the required manufactures torque setting on the attached sheet.
It is important the valve is kept square to the valve plate face - do not over tighten just one bolt!
Please note this valve does not come with a indicator gauge unless you have bought one separately.
Make sure you install it to the correct manufactures torque setting.
Please read and follow the attached manufactures instructions for the required torque setting and for correct fitment of the valve - See attached document.
Make sure you have the the correct valve size and angle before fitting - if you have a 200 mm diameter tank this valve should have stamped 200 - 105, if you have a 230 diameter tank this valve should have 230 - 105 stamped on the valve and so forth. If they are not correct then do not attempt fitting until you have the correct valves
If you are unsure please contact GAS IT technical support before proceeding further as we can not be held responsible for any damage or incorrect functionality of the valves when you have fitted them in the tank.
Once all valves are fitted, please carry out a leak check using air, then drain the air and then carry out a further leak check with LPG vapour - using certified Leak detection spray on all the joints you have assembled. Do not fill with liquid LPG until you are satisfied the tank is LPG vapour tight first and then only fill using no more than 2 ltrs of Liquid LPG to allow further leak checking. Then continue to follow the install set up instructions here on the on the GAS IT knowledgebase here